Fly of the Month
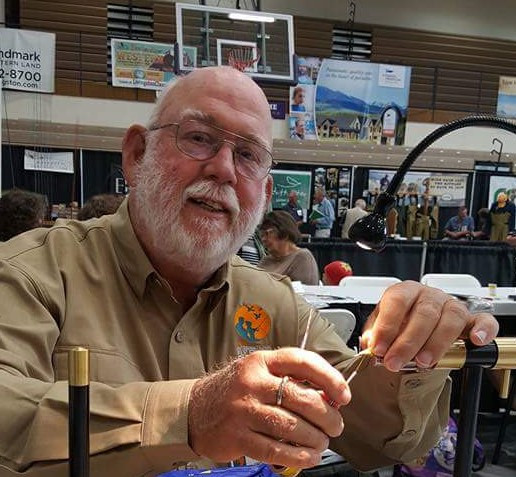
A Little About Dave Londeree
I was introduced to fly fishing at a fairly early age by my dad and by my Scoutmaster, Mr. E.G. Freeman. We lived in San Francisco, so it was always an adventure to go camping, hunting, and fishing. I still have my dad’s bamboo rod (hanging on the wall), and I have fished it from time to time. We almost always used “store-bought” flies. Mr. Freeman did teach us to tie a few flies, and they did catch fish. About the age of 12 or 13, I got my first fly tying vise from Herter’s catalog and used a few scraps of deer hair and thread from my mother’s sewing kit. I tied my first flies, somewhat crude, but as I was told, “ugly flies catch fish too.” They did, but seemed to come apart after a fish or two. Later, I was able to afford more and better material, and the flies got a little better. Then came a full-time job, a wife, and children. Fly fishing stopped for a very long time.
In 1980, I was transferred to North Idaho and was able to start fly fishing again. I was visiting one of our local fly shops and was told about the North Idaho Fly Casters club in Coeur d’Alene. There I met some really great folks and was reintroduced to the sport I enjoyed in my youth. I took a Beginning Fly Tying class from Mr. Erik Schubert, the club’s tutor, and really learned a lot. He was able to undo many of my bad habits. Jim Rogers and Bob Gary, to name a few, are good to watch and learn from.
The Fly Fishers International has been a great help to me. By watching some of the “Masters” at work, you really learn the techniques and tricks to tying some really great flies. At the FFI’s Fly Fishing Fair, there are some world-class fly tyers that are always ready to show you how to tie some of the most beautiful flies.
If you are just getting into flies, take some lessons, and tie, tie, tie. You will get better. In this age of the internet, there are thousands of videos you can watch with step-by-step directions. The FFI’s Learning Center has some of the best. Go ahead and tie a fly. Tie it on and cast it out. You won’t know how good it feels to catch a fish with a fly that you tied until you do.
— Dave Londeree
-
Crackleback
- Hook: Standard Dry fly 12-18
- Thread: Brown 8/0
- Hackle: Brown
- Back: Peacock Herl
- Body: White or light cream fine dubbing

Tying Steps:
- Pinch in the hooks barb and mount it to your vise
- Dress the hook shank with thread from a hook eye length behind the eye to the bend.
- Pick a hackle the proper size to fit the hook (1-1 1/2 the hook gap). Strip 3/8″ from the base of the feather and tie it to the shank (dull side up) at the hook bend. There should be a short gap section of the stem behind the hook.
- Pick two Peackock Herls from the package or stem. Tie them on top of the hook shank at the hook bend with the herls pointing to the back.
- Make a dubbing loop 3-4″ long. Card the dubbing and sparsely load the loop. Twist the loop to make the dubbing noodle.
- Wind the dubbing noodle from the hook bend to 2 eye lengths from the hook eye.
- Tie off the dubbing noodle and cut off the excess.
- Pull the Peackock Herls over the top of the body and tie them off. Cut off the excess.
- Palmer the hackle from the hook bend to just behind the hook eye. The Barbs should be facing toward the hook eye. Tie the tackle to the hook behind the eye. Cut off the excess hackle.
- Whip finish and add a drop of head cement.
Note:
The Crackleback was first tied in 1952 by Mr. Ed Story. It is a Dry Fly that can used “WET” by adding a bead.